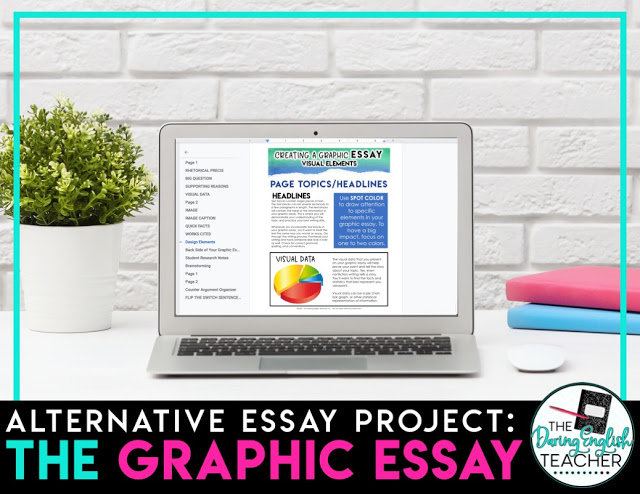
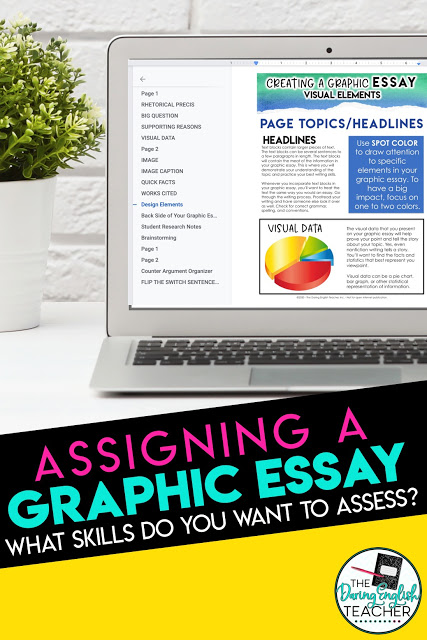
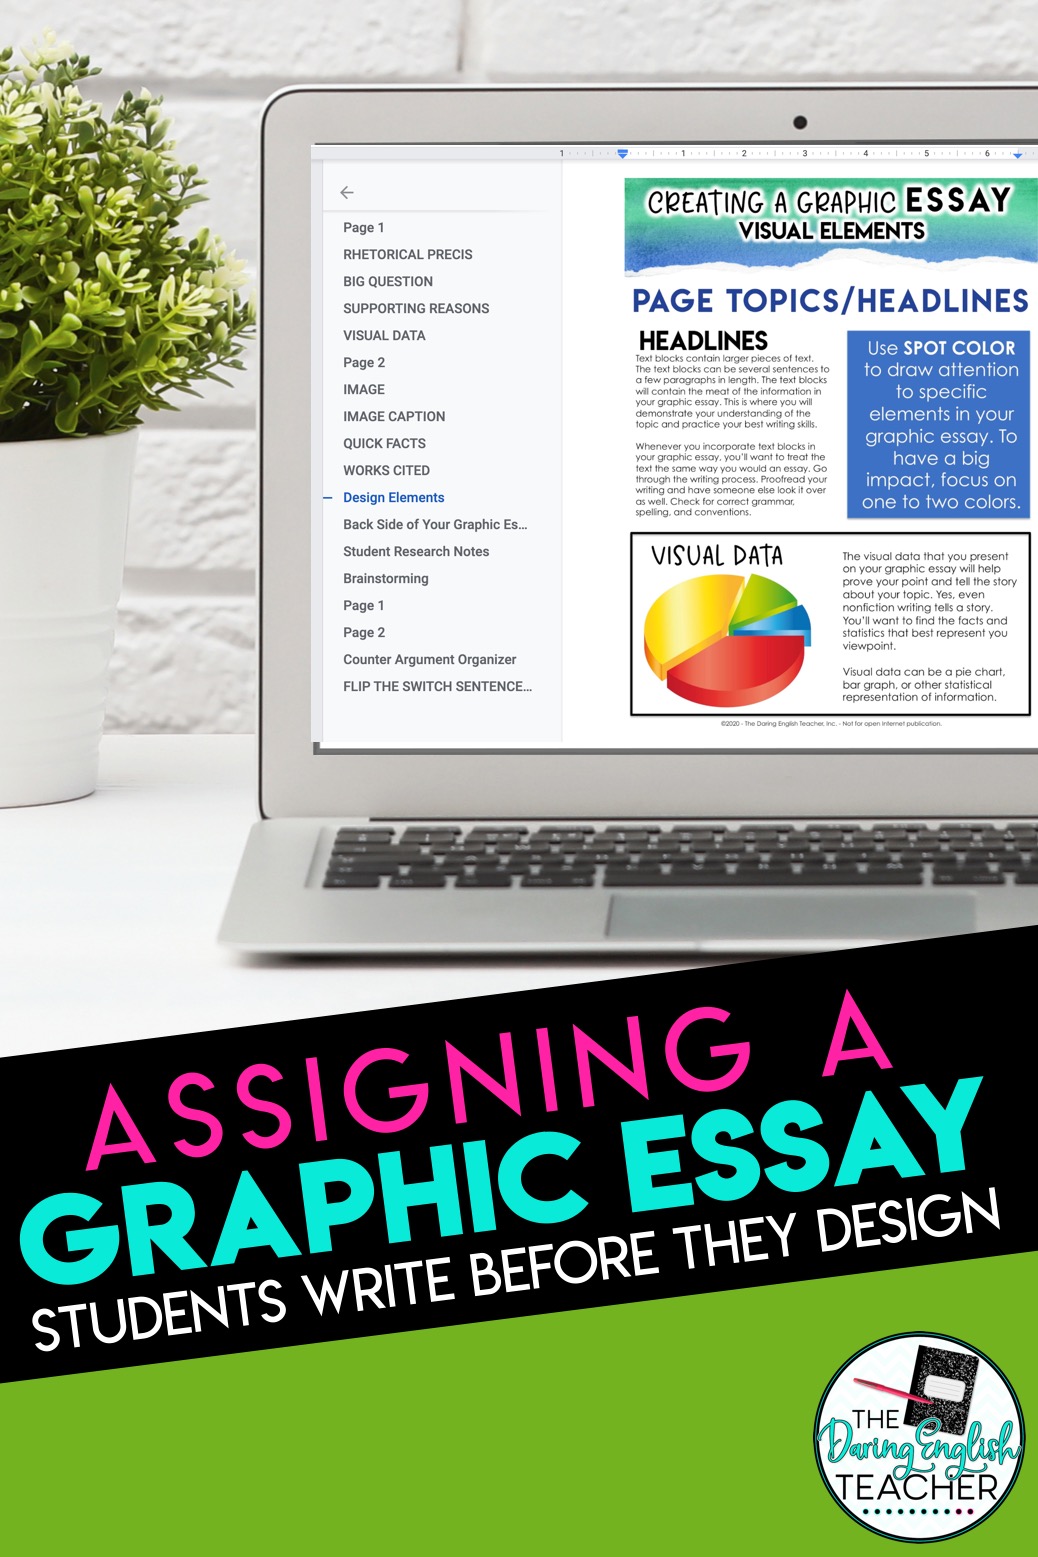
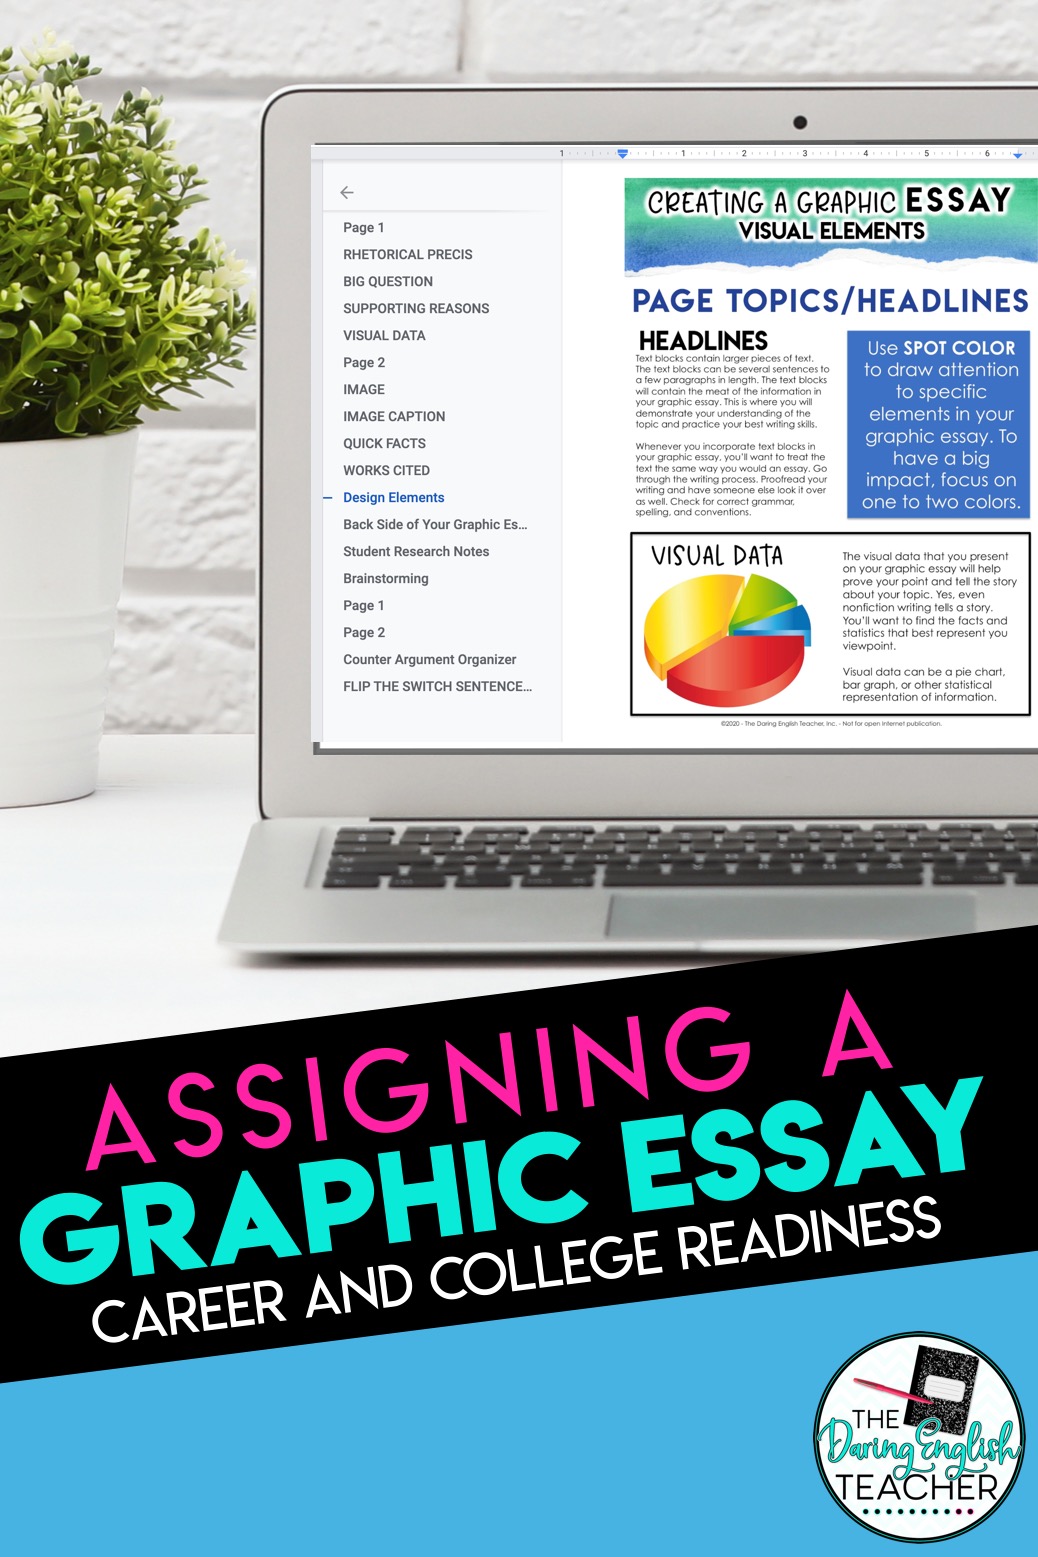
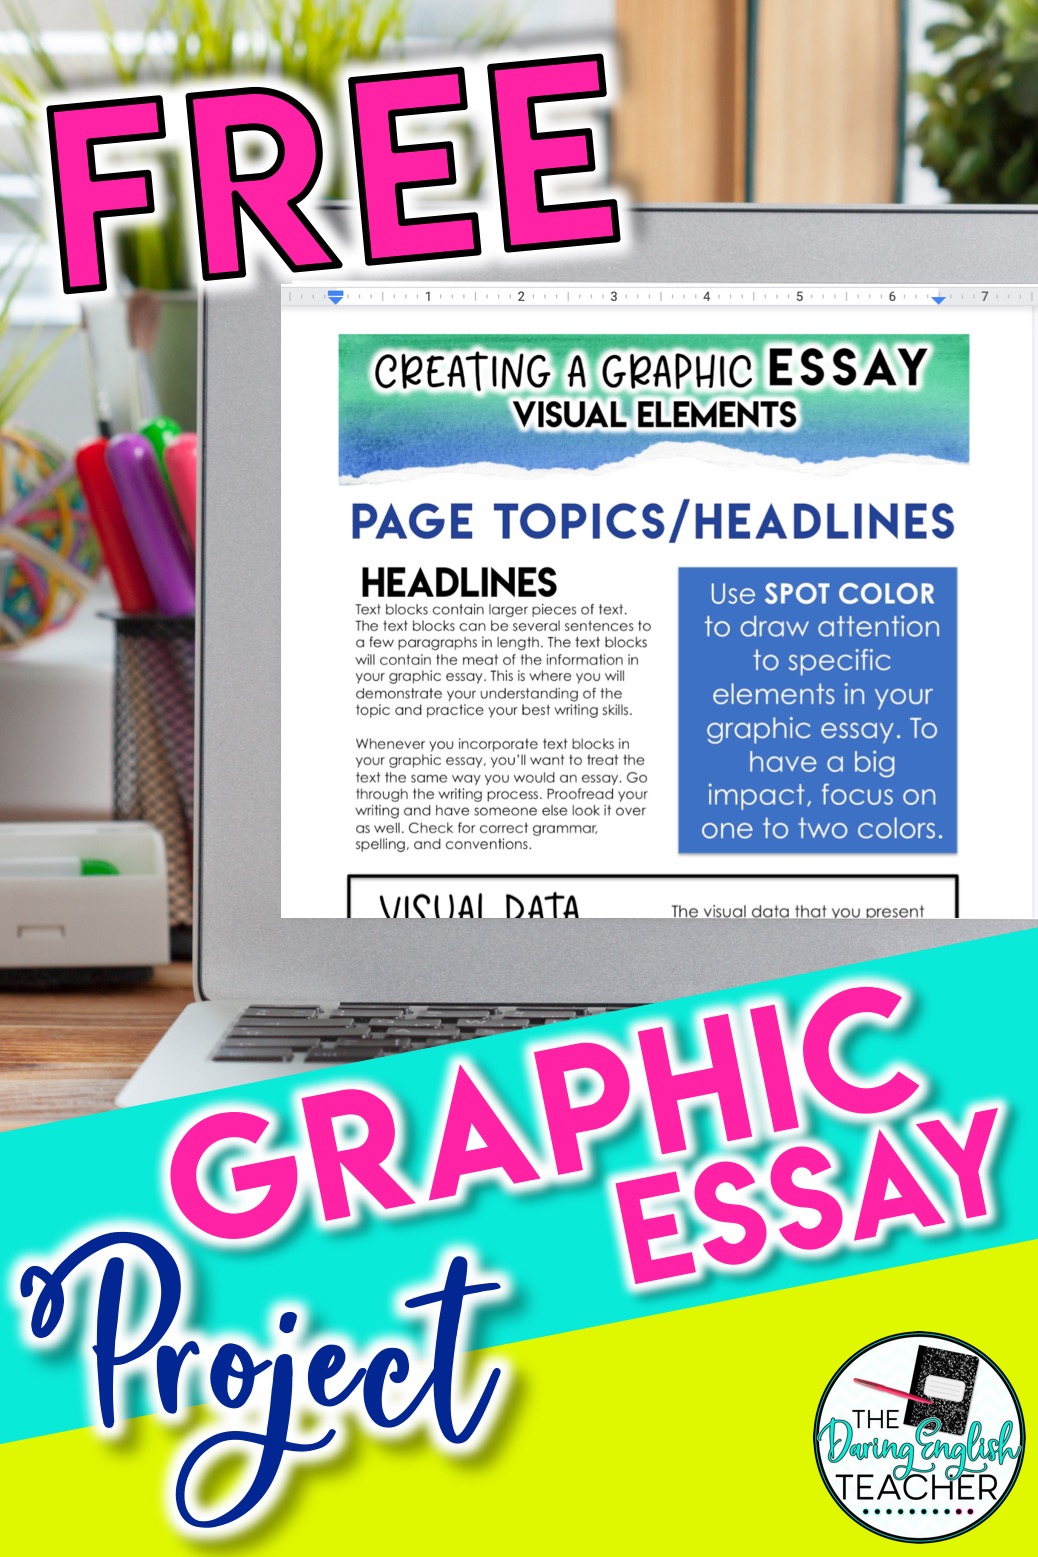
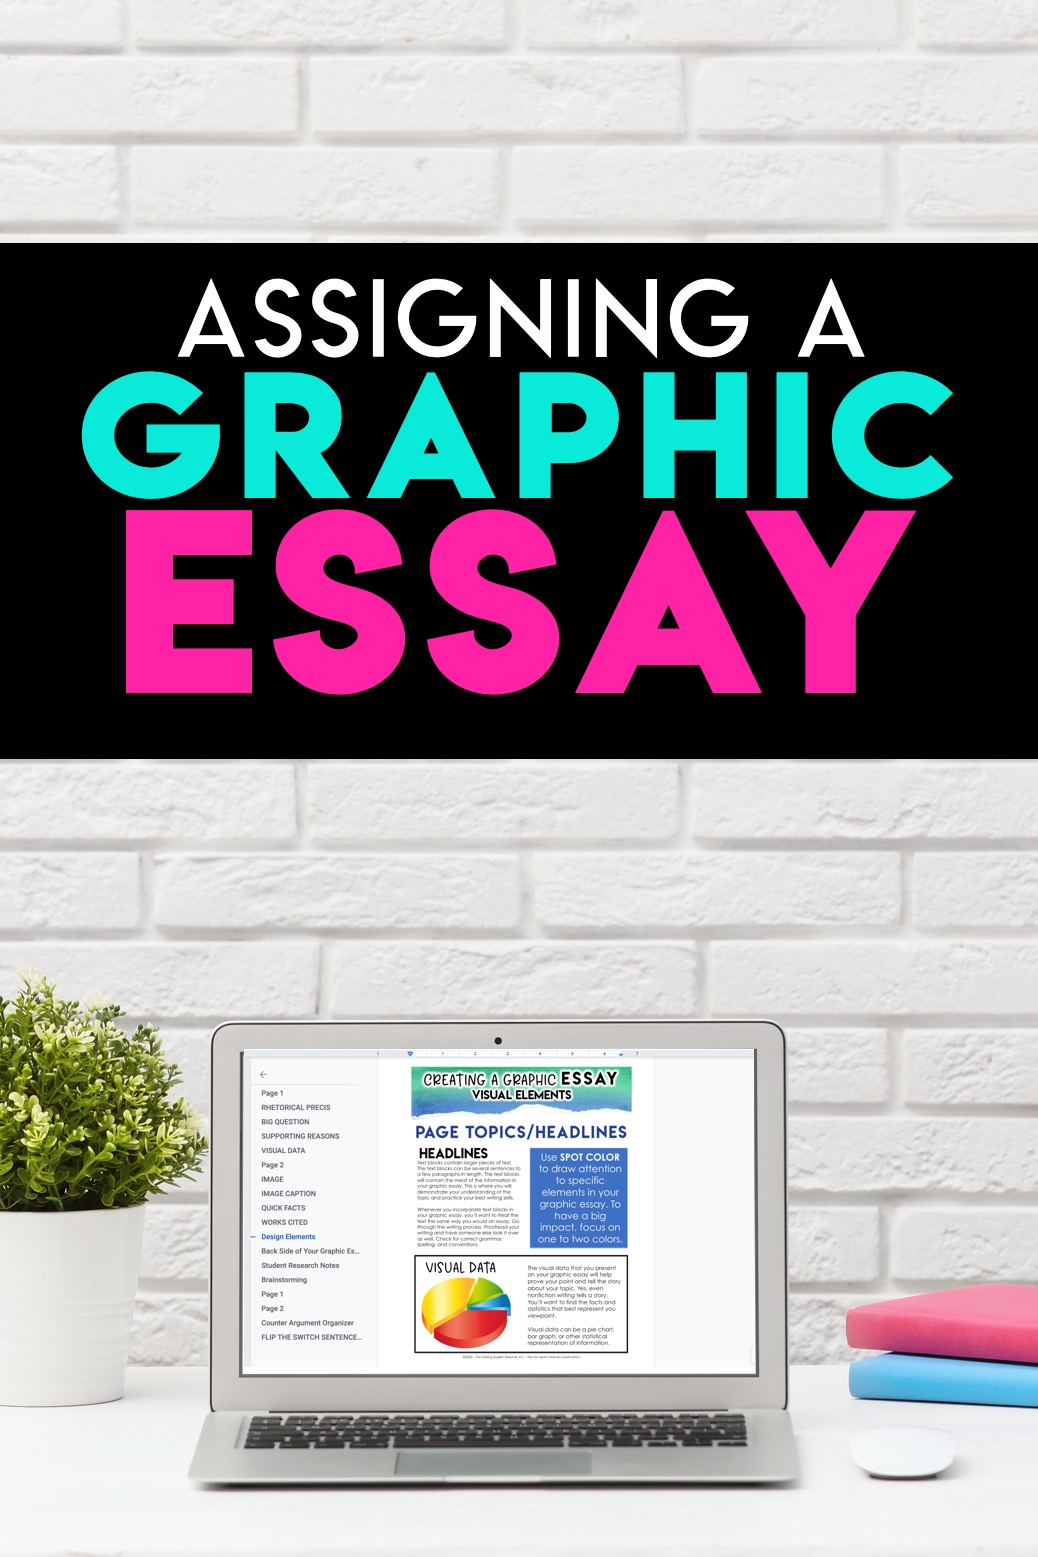
One of my favorite ways to assess my students’ essay-writing skills without actually assigning a traditional essay is with the graphic essay. A graphic essay is an excellent essay alternative for the middle school ELA or high school English classroom.
A graphic essay is a graphic representation that contains all of the essential essay elements. It combines writing, visual elements, and design. When assigning a graphic essay, you can have students include any particular aspect from the essay that you want.
Getting Started
The first step to completing a graphic essay project in your classroom is to have a clear idea of the skills and content you want to assess. For example, if you are working on an argument and persuasive unit, are you looking to assess a counterargument? If you are working on an informative piece, are you looking for explanatory evidence?
Once you know what you want to assess, start mapping out the student requirements. I’m pretty old-school when it comes to things and prefer to draft out my notes with paper and pencil. When I do this, I make a list of all of the elements that I want my students to include. For a recent project, I wanted them to include a variety of features: introduction, big ideas with supporting evidence, counter argument, quick facts, visual data representation, and a Works Cited page.
Work Before Design
Once you have your graphic essay outlined, it is time to assign it to the students. However, and I cannot stress this enough, you don’t want them to focus on the visual and graphic elements first. That is just a hot mess waiting to happen. You know how it will go. Some students will spend the entire class period deciding between a blue or green spot color design element. By the time the class period ends, they’ll have a lovely purple box on their graphic essay, but that will probably all they have accomplished—one box.
Instead, try this. Have your students work on a brainstorming organizer first. You’ll want them to brainstorm, write, and curate all of the content for the graphic essay before they start the design process. When I complete this project in my classroom, I have them draft everything, find all of the images they want to include, and submit that work for a grade before they even start the design process.
Design
Students either love or hate the graphic design process of this alternative essay project, and that is to be expected. When we get to the design process of this project, I try to give my students several different options for creating the final project that matches different graphic design comfort levels. A few of my students usually want to use Adobe Photoshop and design everything from scratch, a few need extra guidance working in a Google Slide, and the majority are excited to try a new online platform. Please note, this is not an ad. These websites did not pay to be included in this post.
One thing that I cannot emphasize enough for this type of project is that I grade content and not design. Let me repeat that: I assess the content of the work and not the quality of the design.
Here’s a look at some of the different platforms I suggest my students use to create their graphic essay. This list is in order from easiest to most advanced.
1. Google Docs – Most students are already familiar with Google Docs. Using the draw tool, students can create images, place text, and color to their Google Docs. For my students who need the most assistance with the design process, I have them use my initial template (which I created using the draw tool in Google Docs) and a plug and play template.
2. Google Slides – Some students might prefer Google Slides over Google Docs because they might feel like they have more freedom. Using Google Slides, students can change the dimensions of each slide to 8.5×11 inches (or larger), and use the textbox tool, shape tool, and other design tools to create the graphic essay.
3. Canva.com – I love Canva because it provides students with different design templates and elements. While there is a paid version, I tell all of my students to use the free option. Using Canva, students can select a flier because that is preset to 8.5×11 inch dimensions. Once students are in Canva, there are a ton of free design tools. Students can choose from a variety of options, including preset text designs, frames, shapes, data (which is excellent for inserting bar graphs and pie charts), and pictures. Students can even upload their own images to the site as well!
4. Adobe Spark – Adobe Spark is another great online tool for students to create graphic essays and other multimedia presentations. Students can choose a custom size to create an 8.5×11 inch poster, and Adobe Spark also has premade text elements and templates to choose from.
5. Piktochart.com – Personally, I like Piktochart more for having students create infographics instead of graphic essays, but Piktochart still works. Students can the custom size or letter size to create their graphic. Piktochart has more advanced design features, and one unique design feature is that students can design their project in blocks. Similar to Canva and Adobe Spark, students can also upload their own images to their creation.
Sharing the File
Once students finish creating their graphic essays, I like to have them upload their creations to one location so that all of my students can see the work that everyone created. My favorite site for this is Padlet. If you haven’t used Padlet before, it is like an online corkboard. Students can post their designs to your class’s board. Students can also comment on other students’ work if you want to add a gallery walk element to this project.

